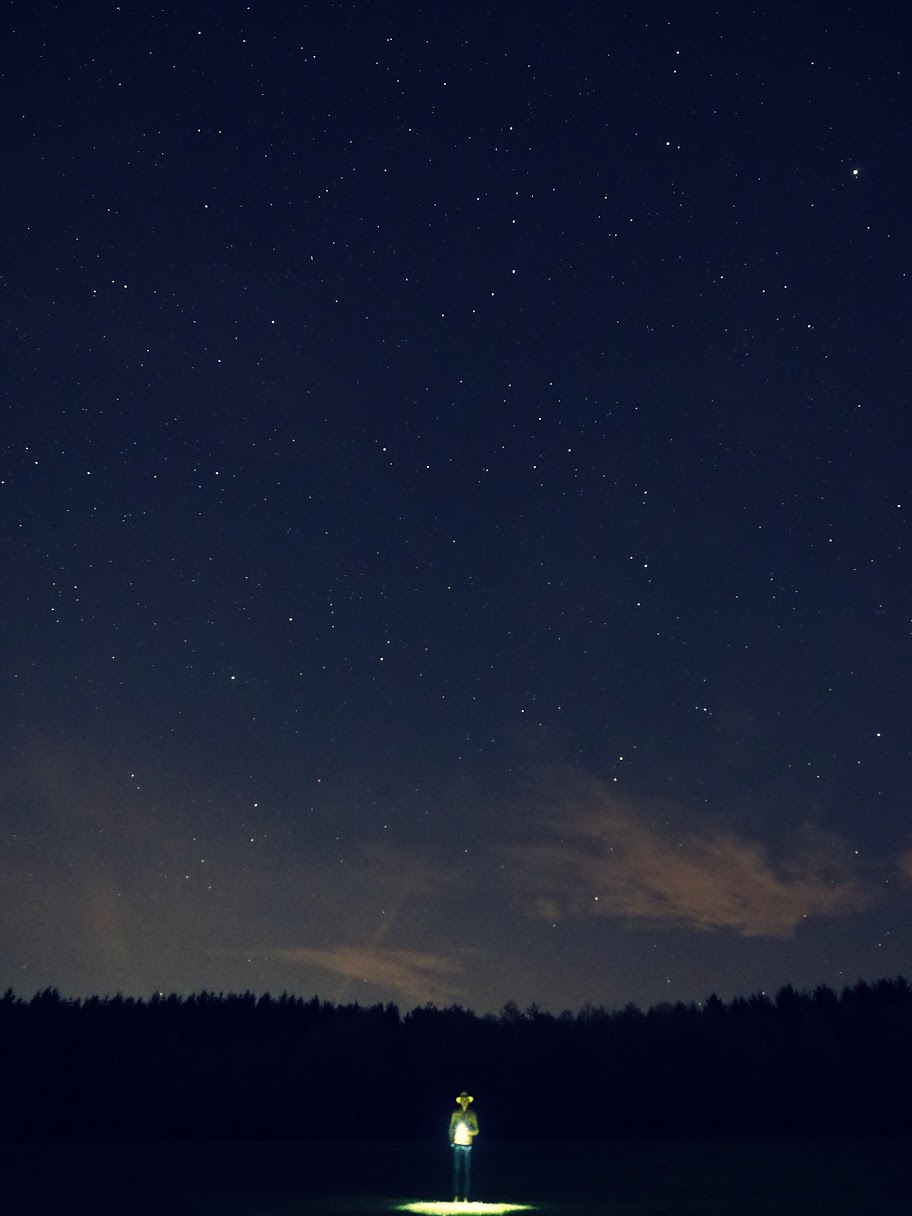
There is light pollution everywhere and I am not going to change that. I rather wanted to bypass this problem by simply focusing on astrophotography and the use of filters. This explains the Bortle class 4-5 location of the observatory, but why build one in the first place? Well there are two main reasons. The first one is that astronomy is a very frustrating hobby. You spent hours carrying and adjusting gear you cant use because in the last second some clouds appear. The second one is that we (and by we I mean my family and myself) wanted to do something useful with the gear my uncle inherited me. It was always our dream and I kind of feel obligated to fulfil it. The concept of a garden hut with a sliding roof is proven, easy and effective and why I planned it that way.
Are we really doing this? On the same day I knew where I wanted to build it, I started digging. First we needed to transplant a walnut tree which decided to grow beside my chosen place. Easier said than done, but after minor swearing we could begin to dig the hole that would later support the telescope, it its around 80cm deep and has a length and width of one meter.
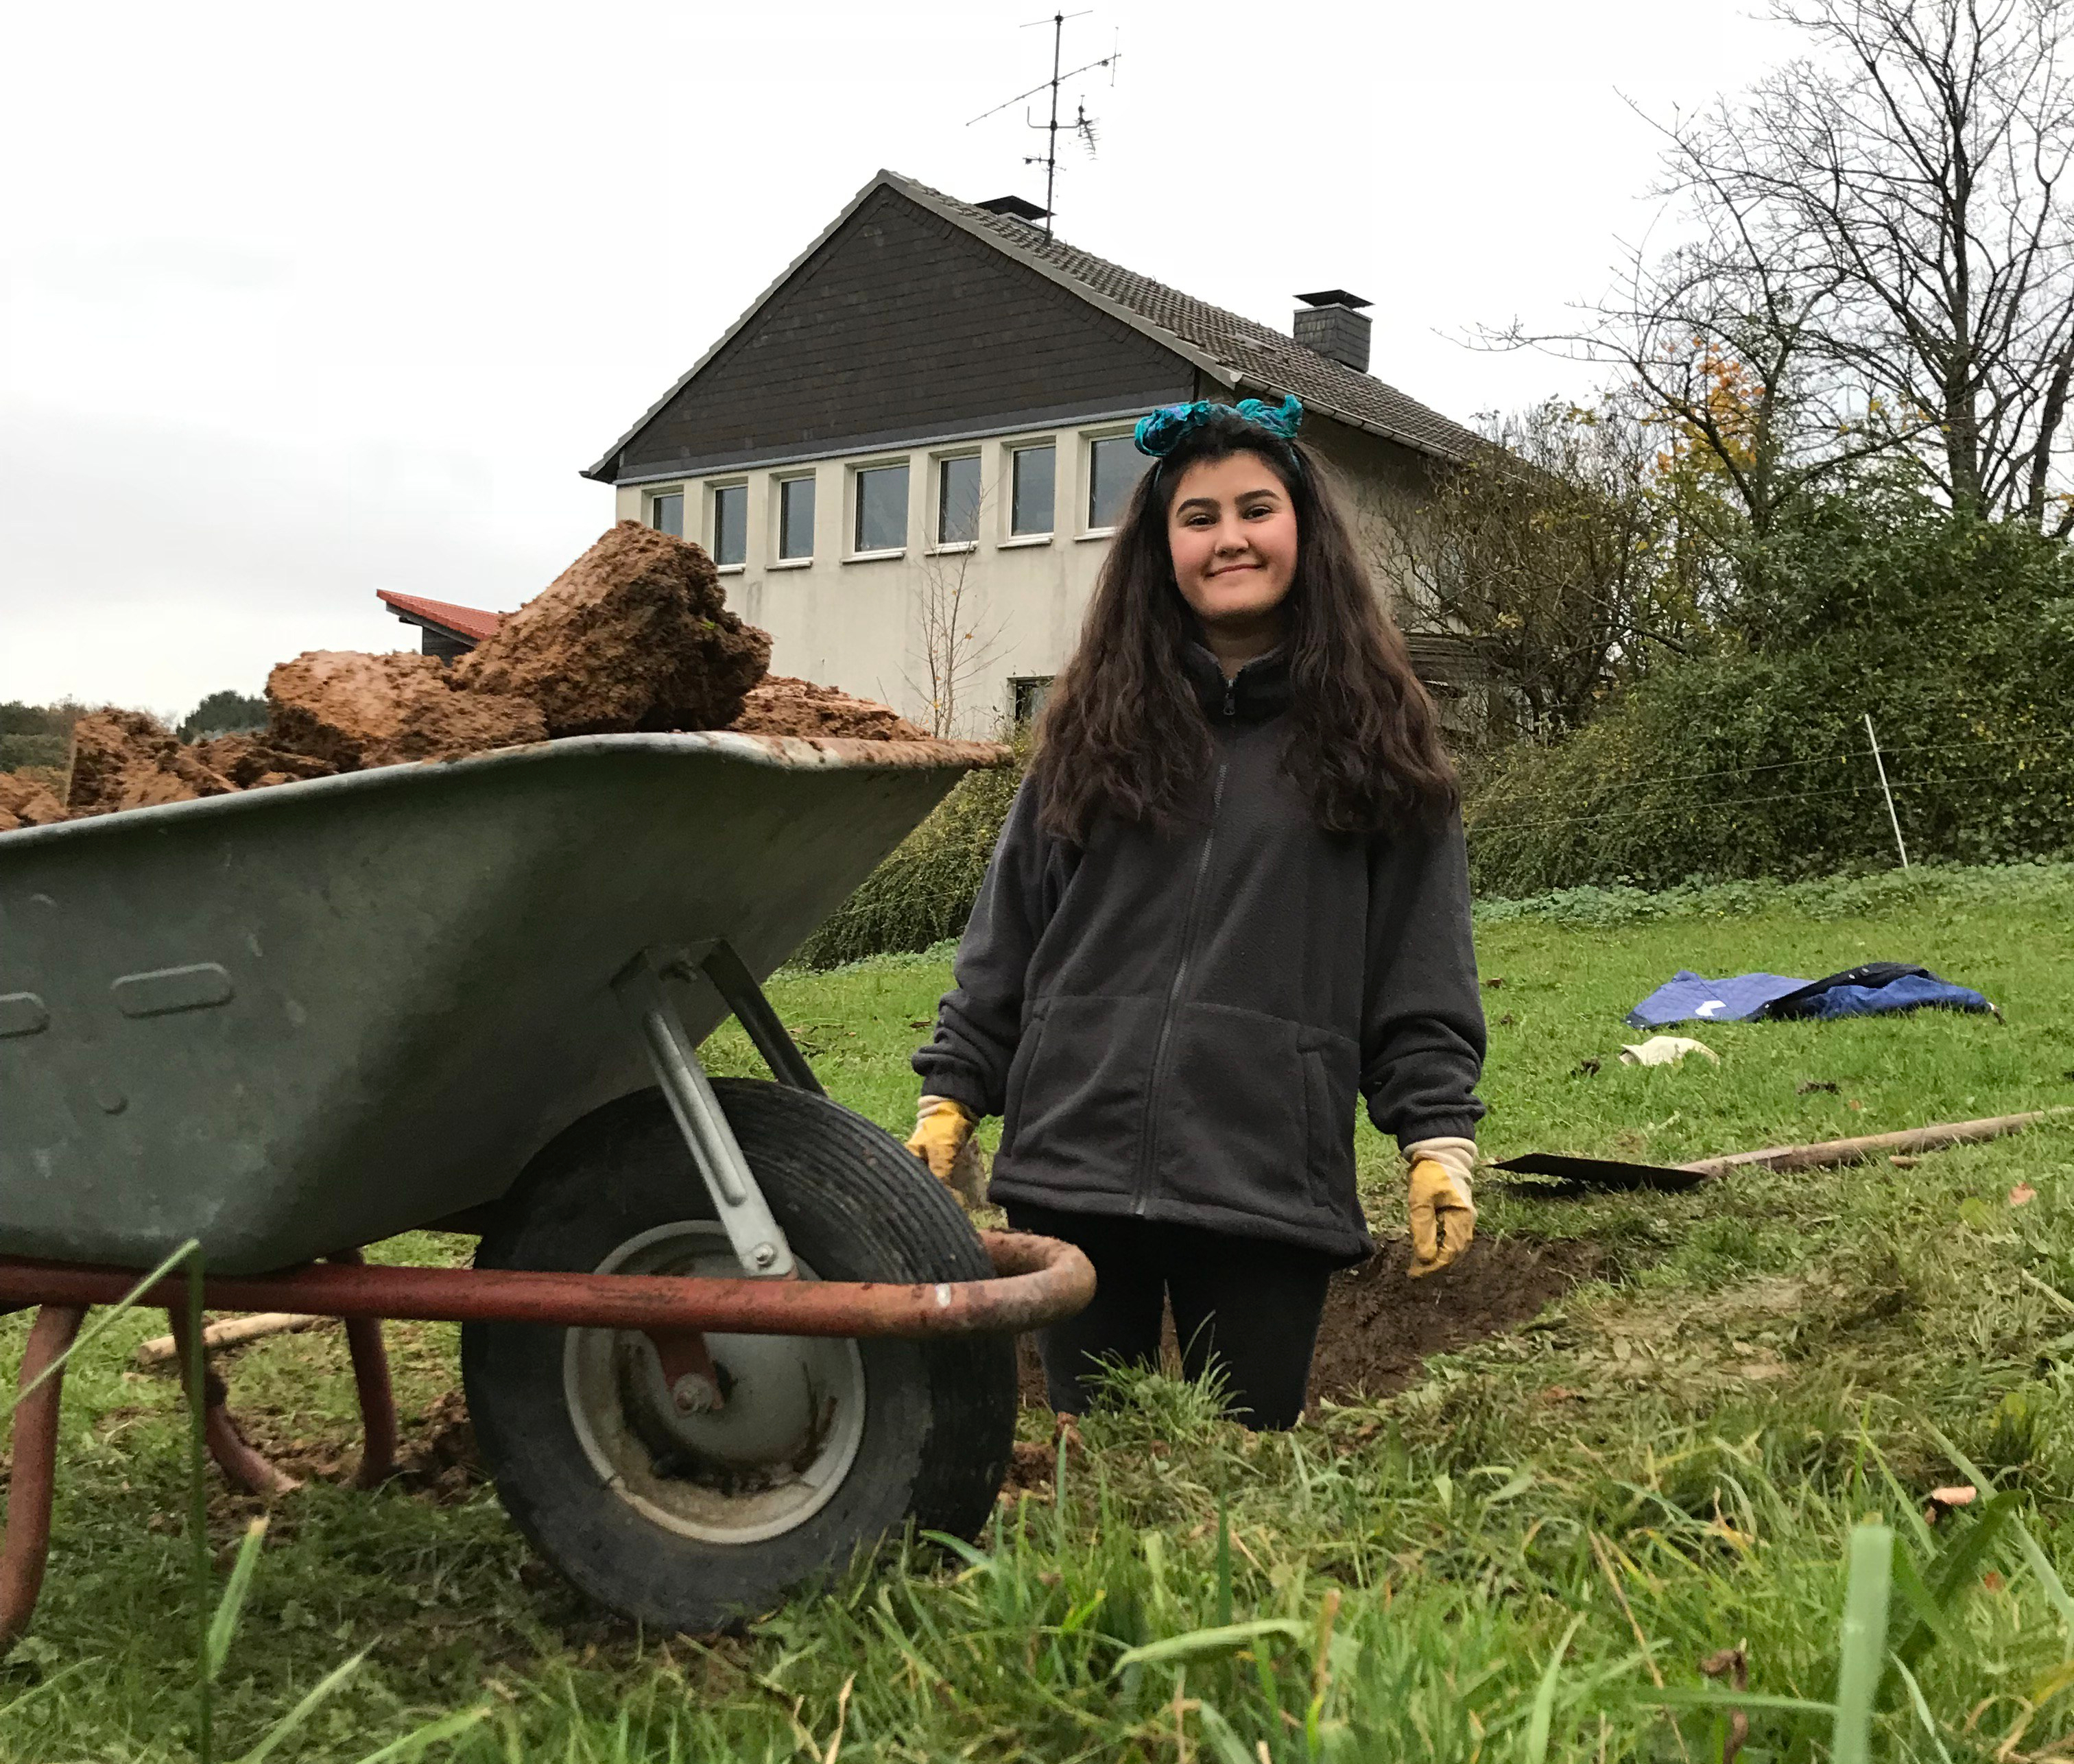
The observatory is completely decoupled from the mount, a step necessary to reduce vibrations. The needed fundaments (11 in total) were dug with the help of a gas-powered drill a neighbour lend me (Thanks again!). This part was actually rather enjoyable although anything but relaxing.

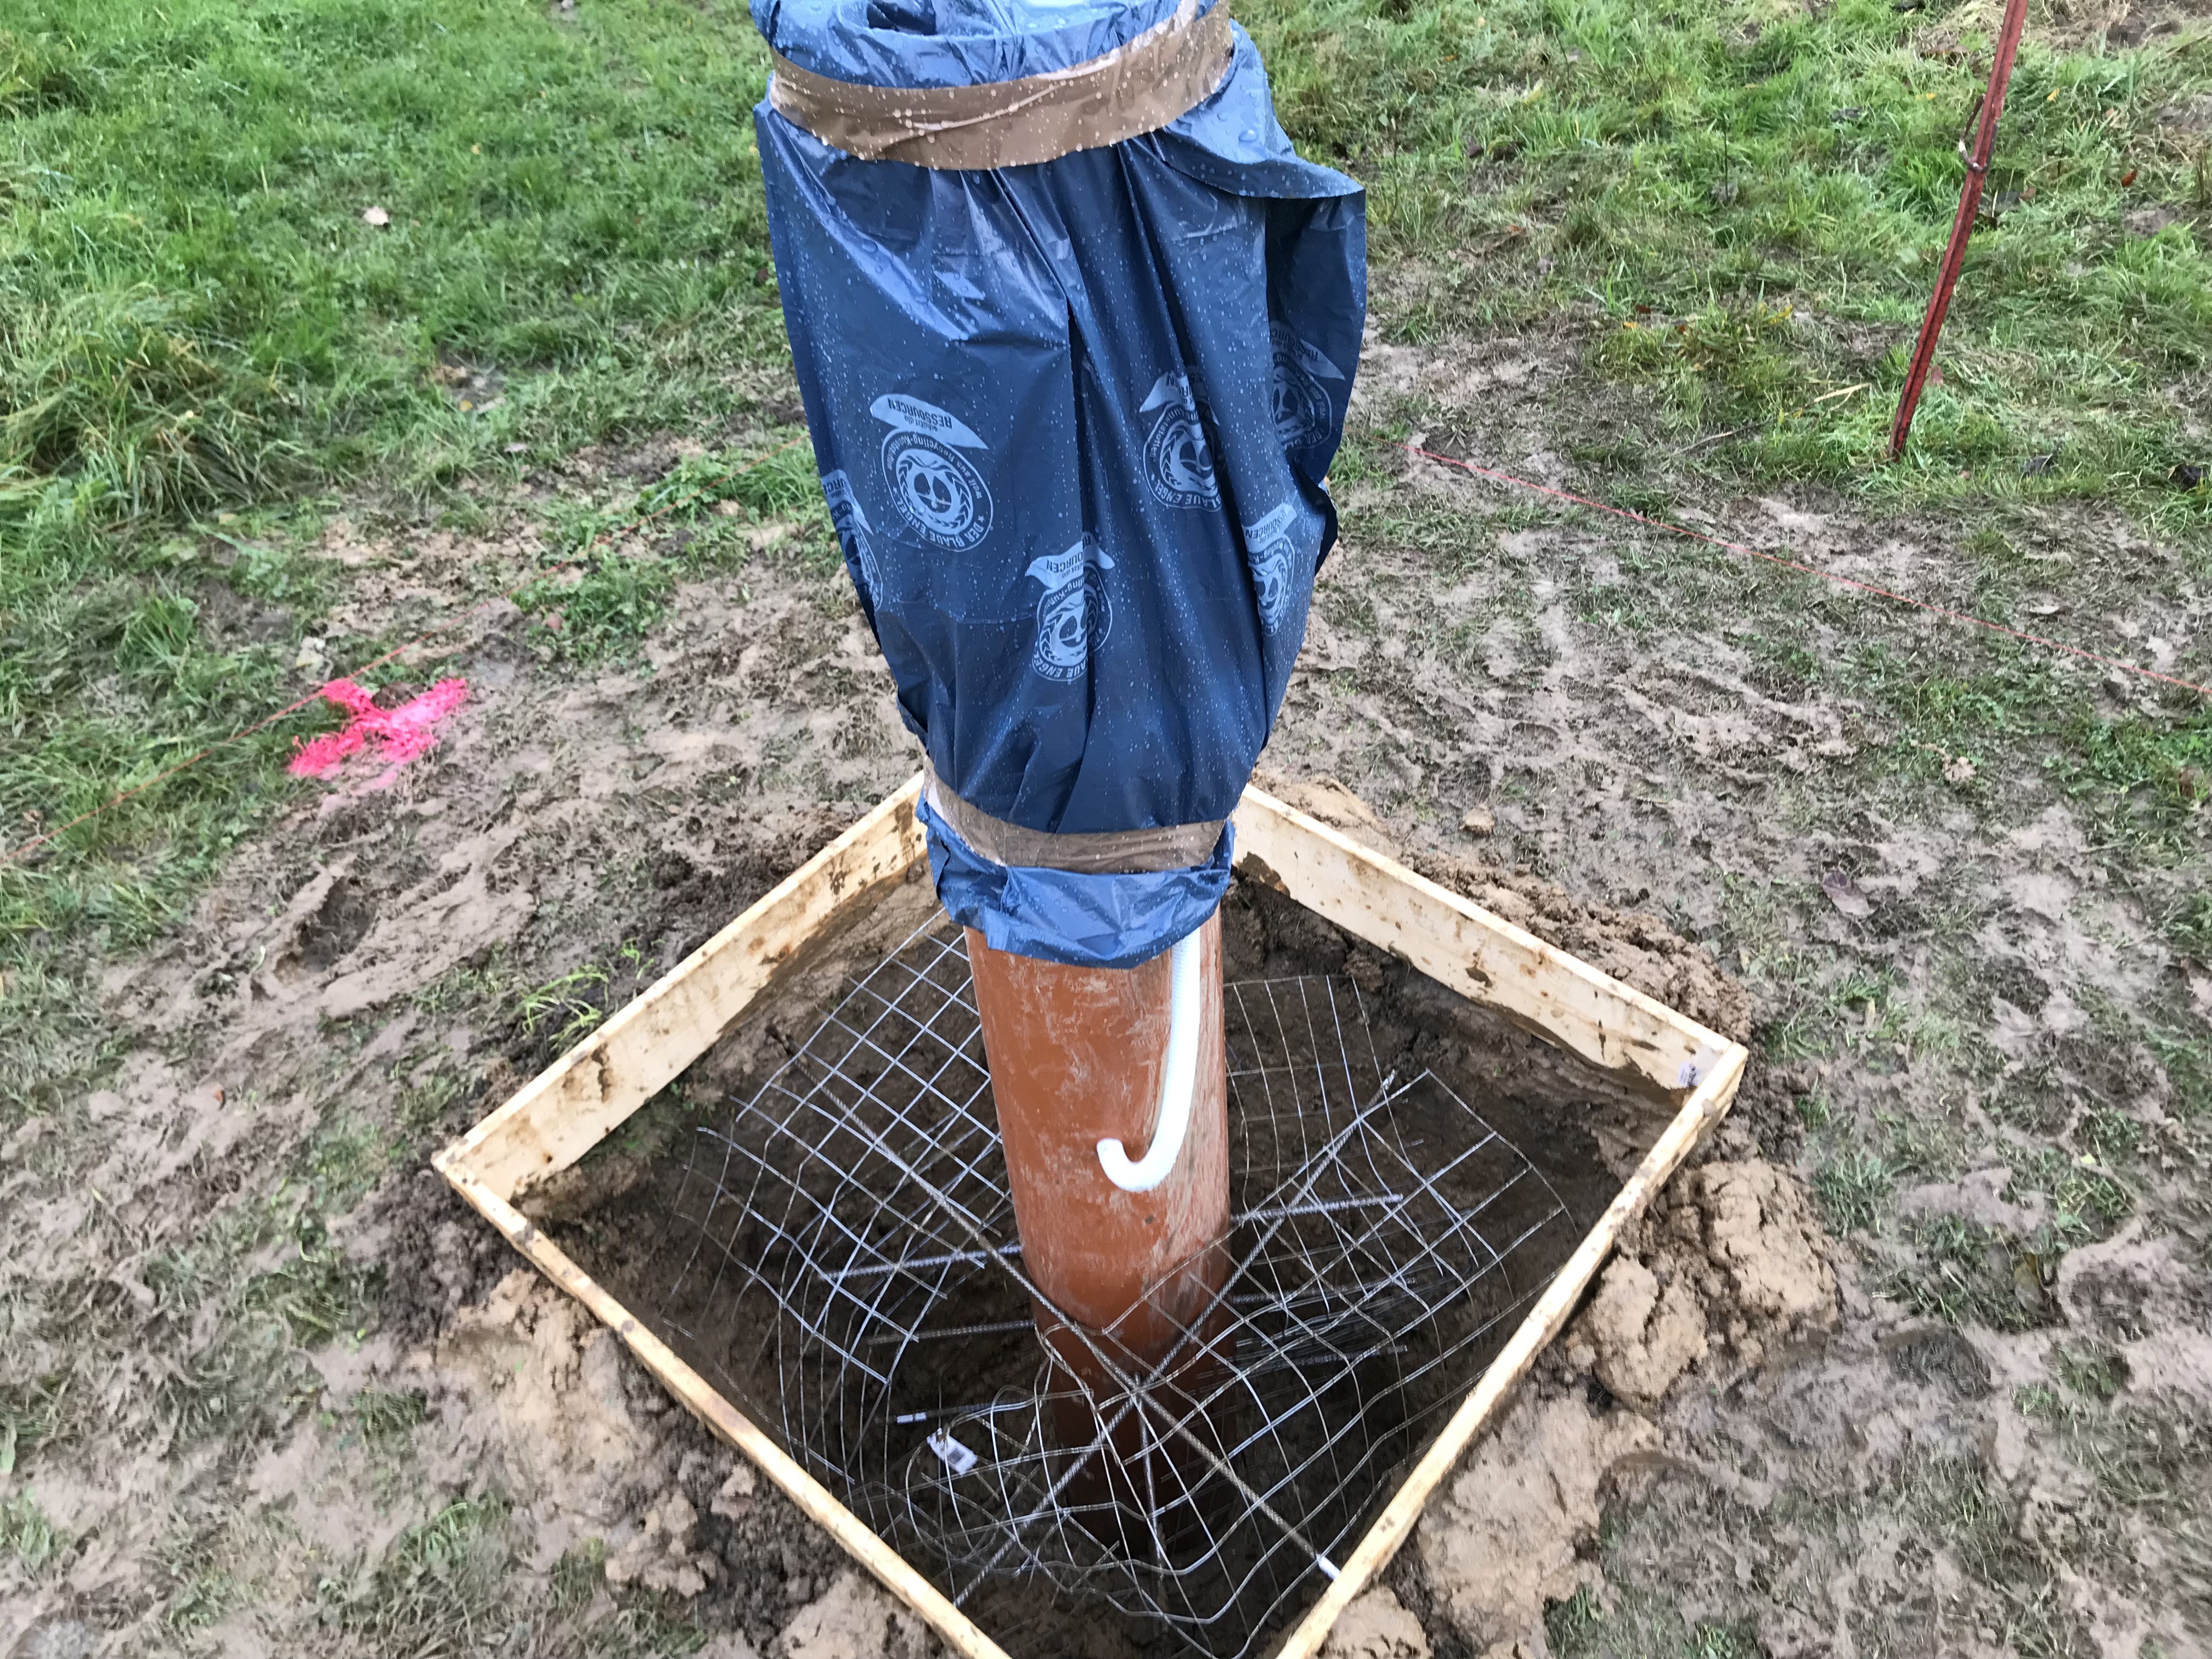
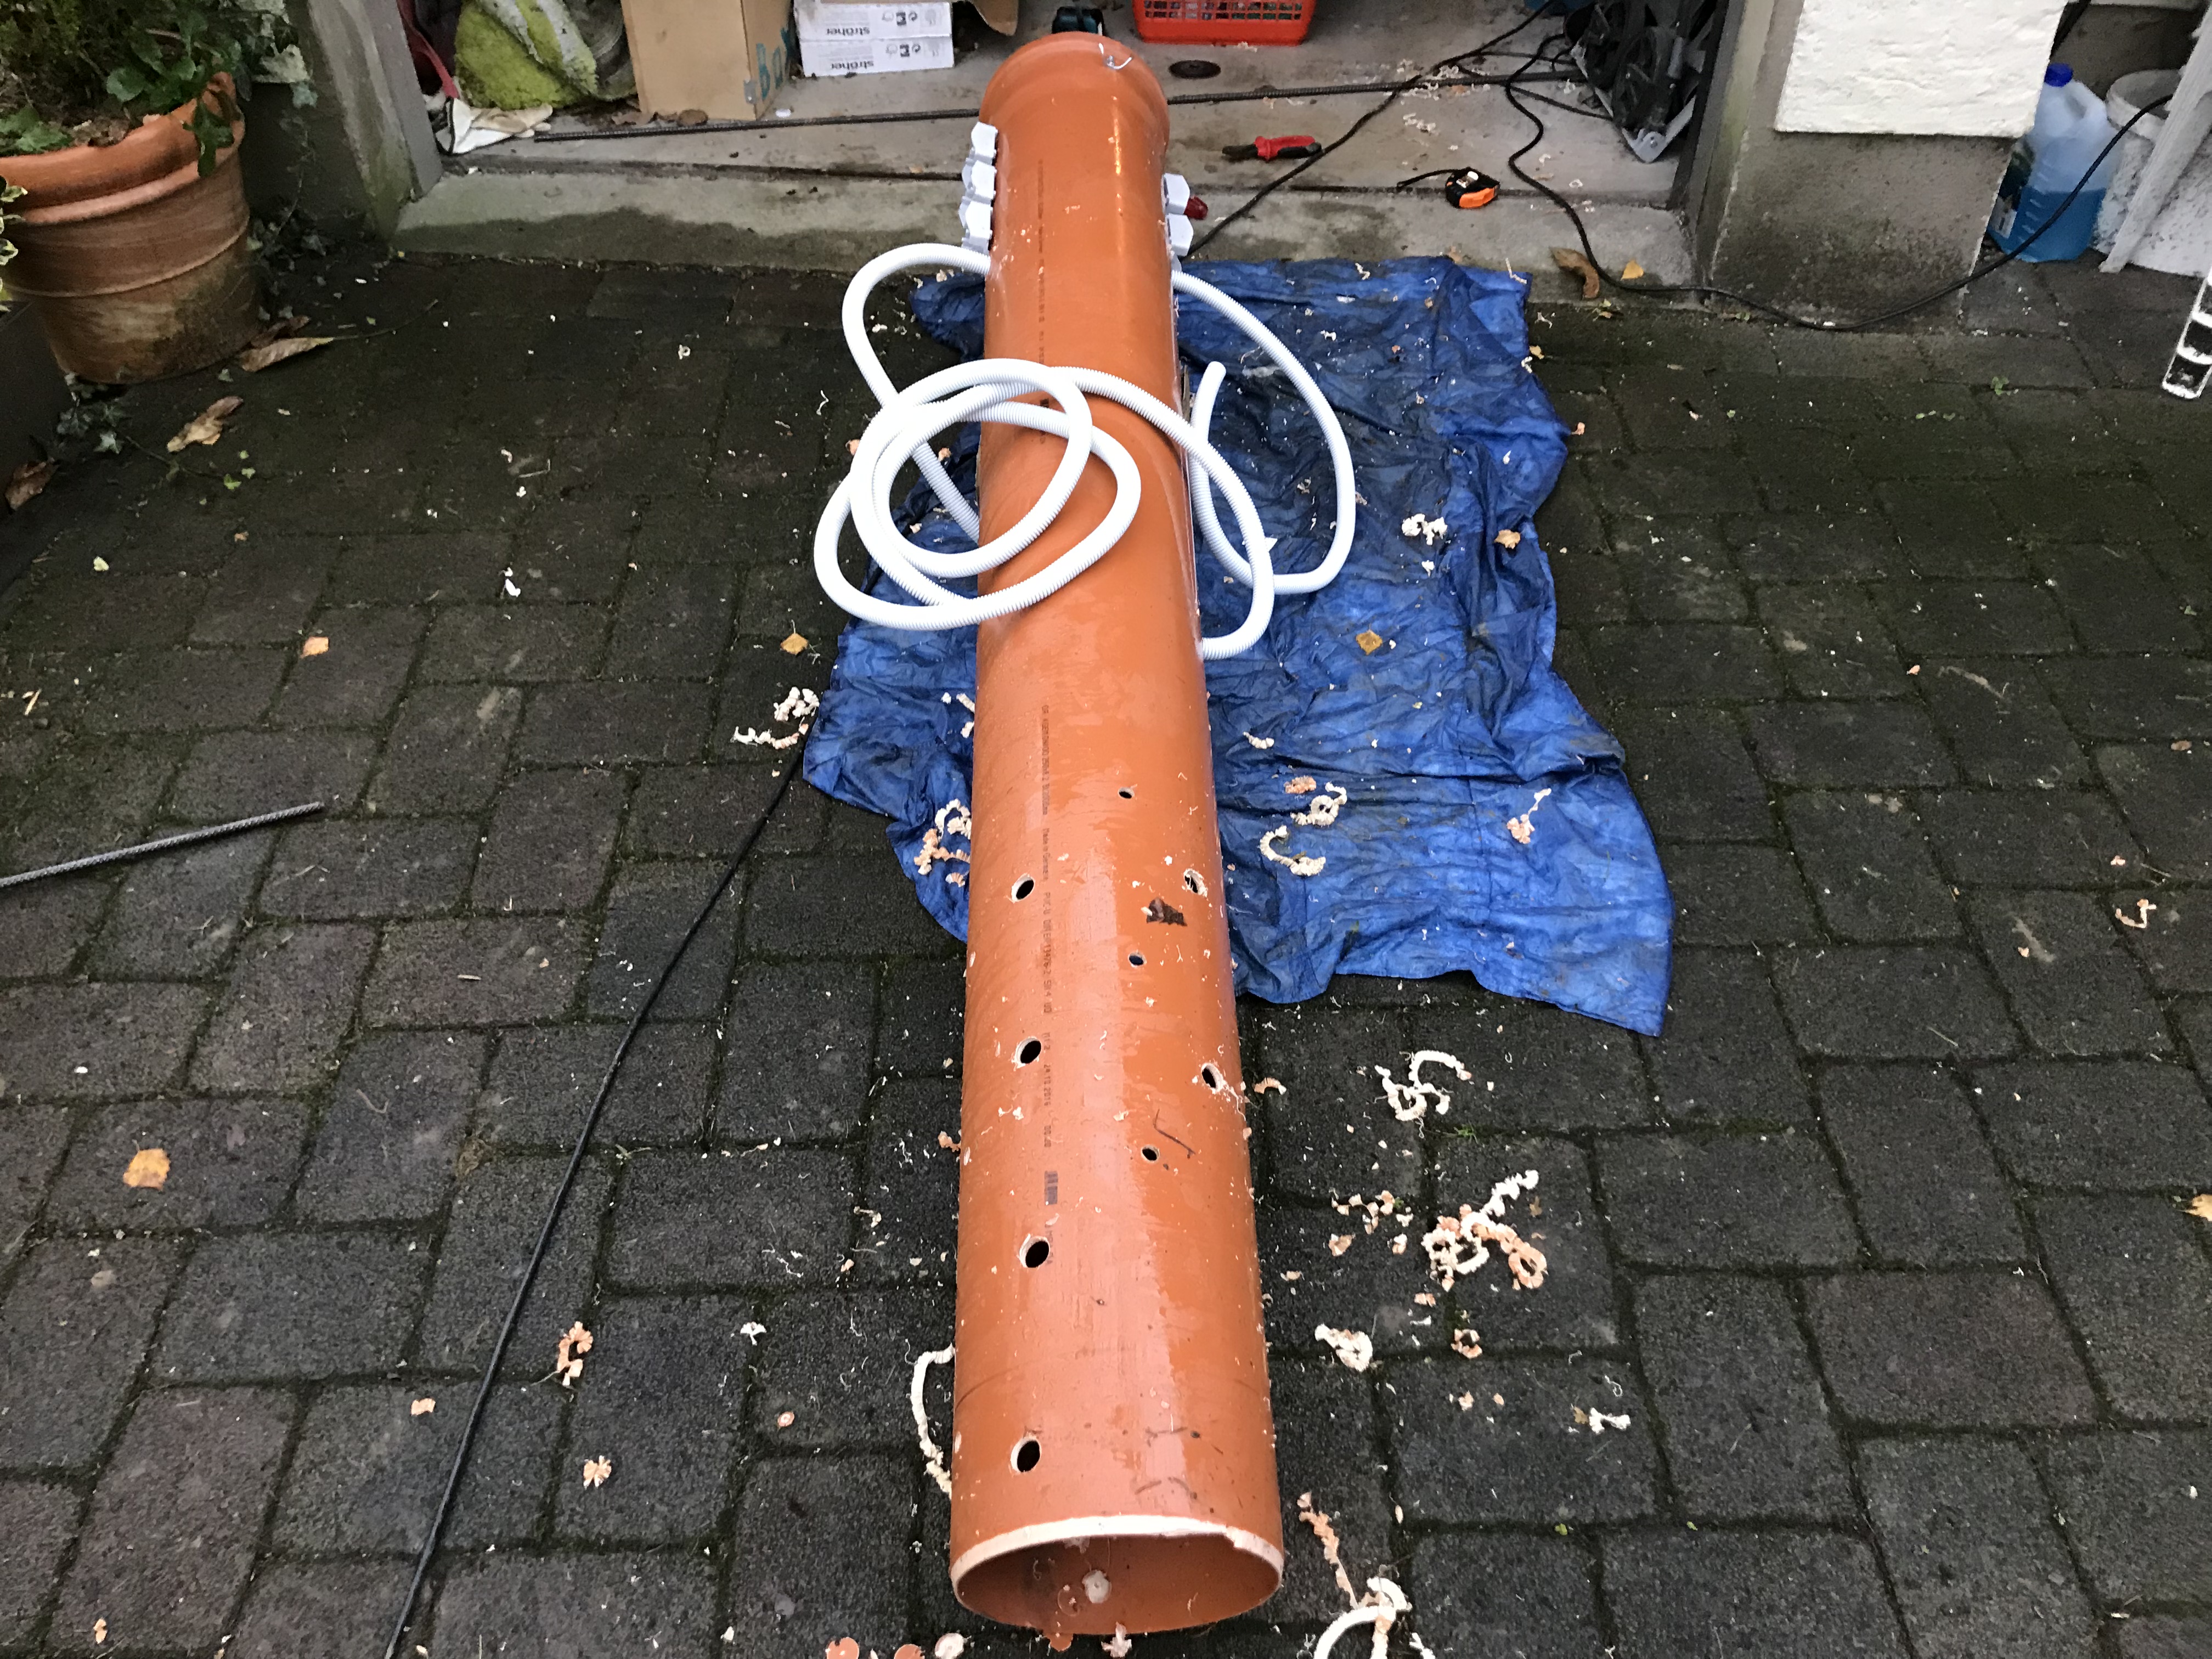
As you can see we used a sewer pipe (2m long, 25cm diameter) as our base for the mount. The pipe is equipped with sockets and everything needed to supply the equipment with power without getting caught in electric wiring. I also mounted hooks for the remote controls and drilled holes in the lower part of the pipe so the concrete and the reinforcement steel create a solid connection.
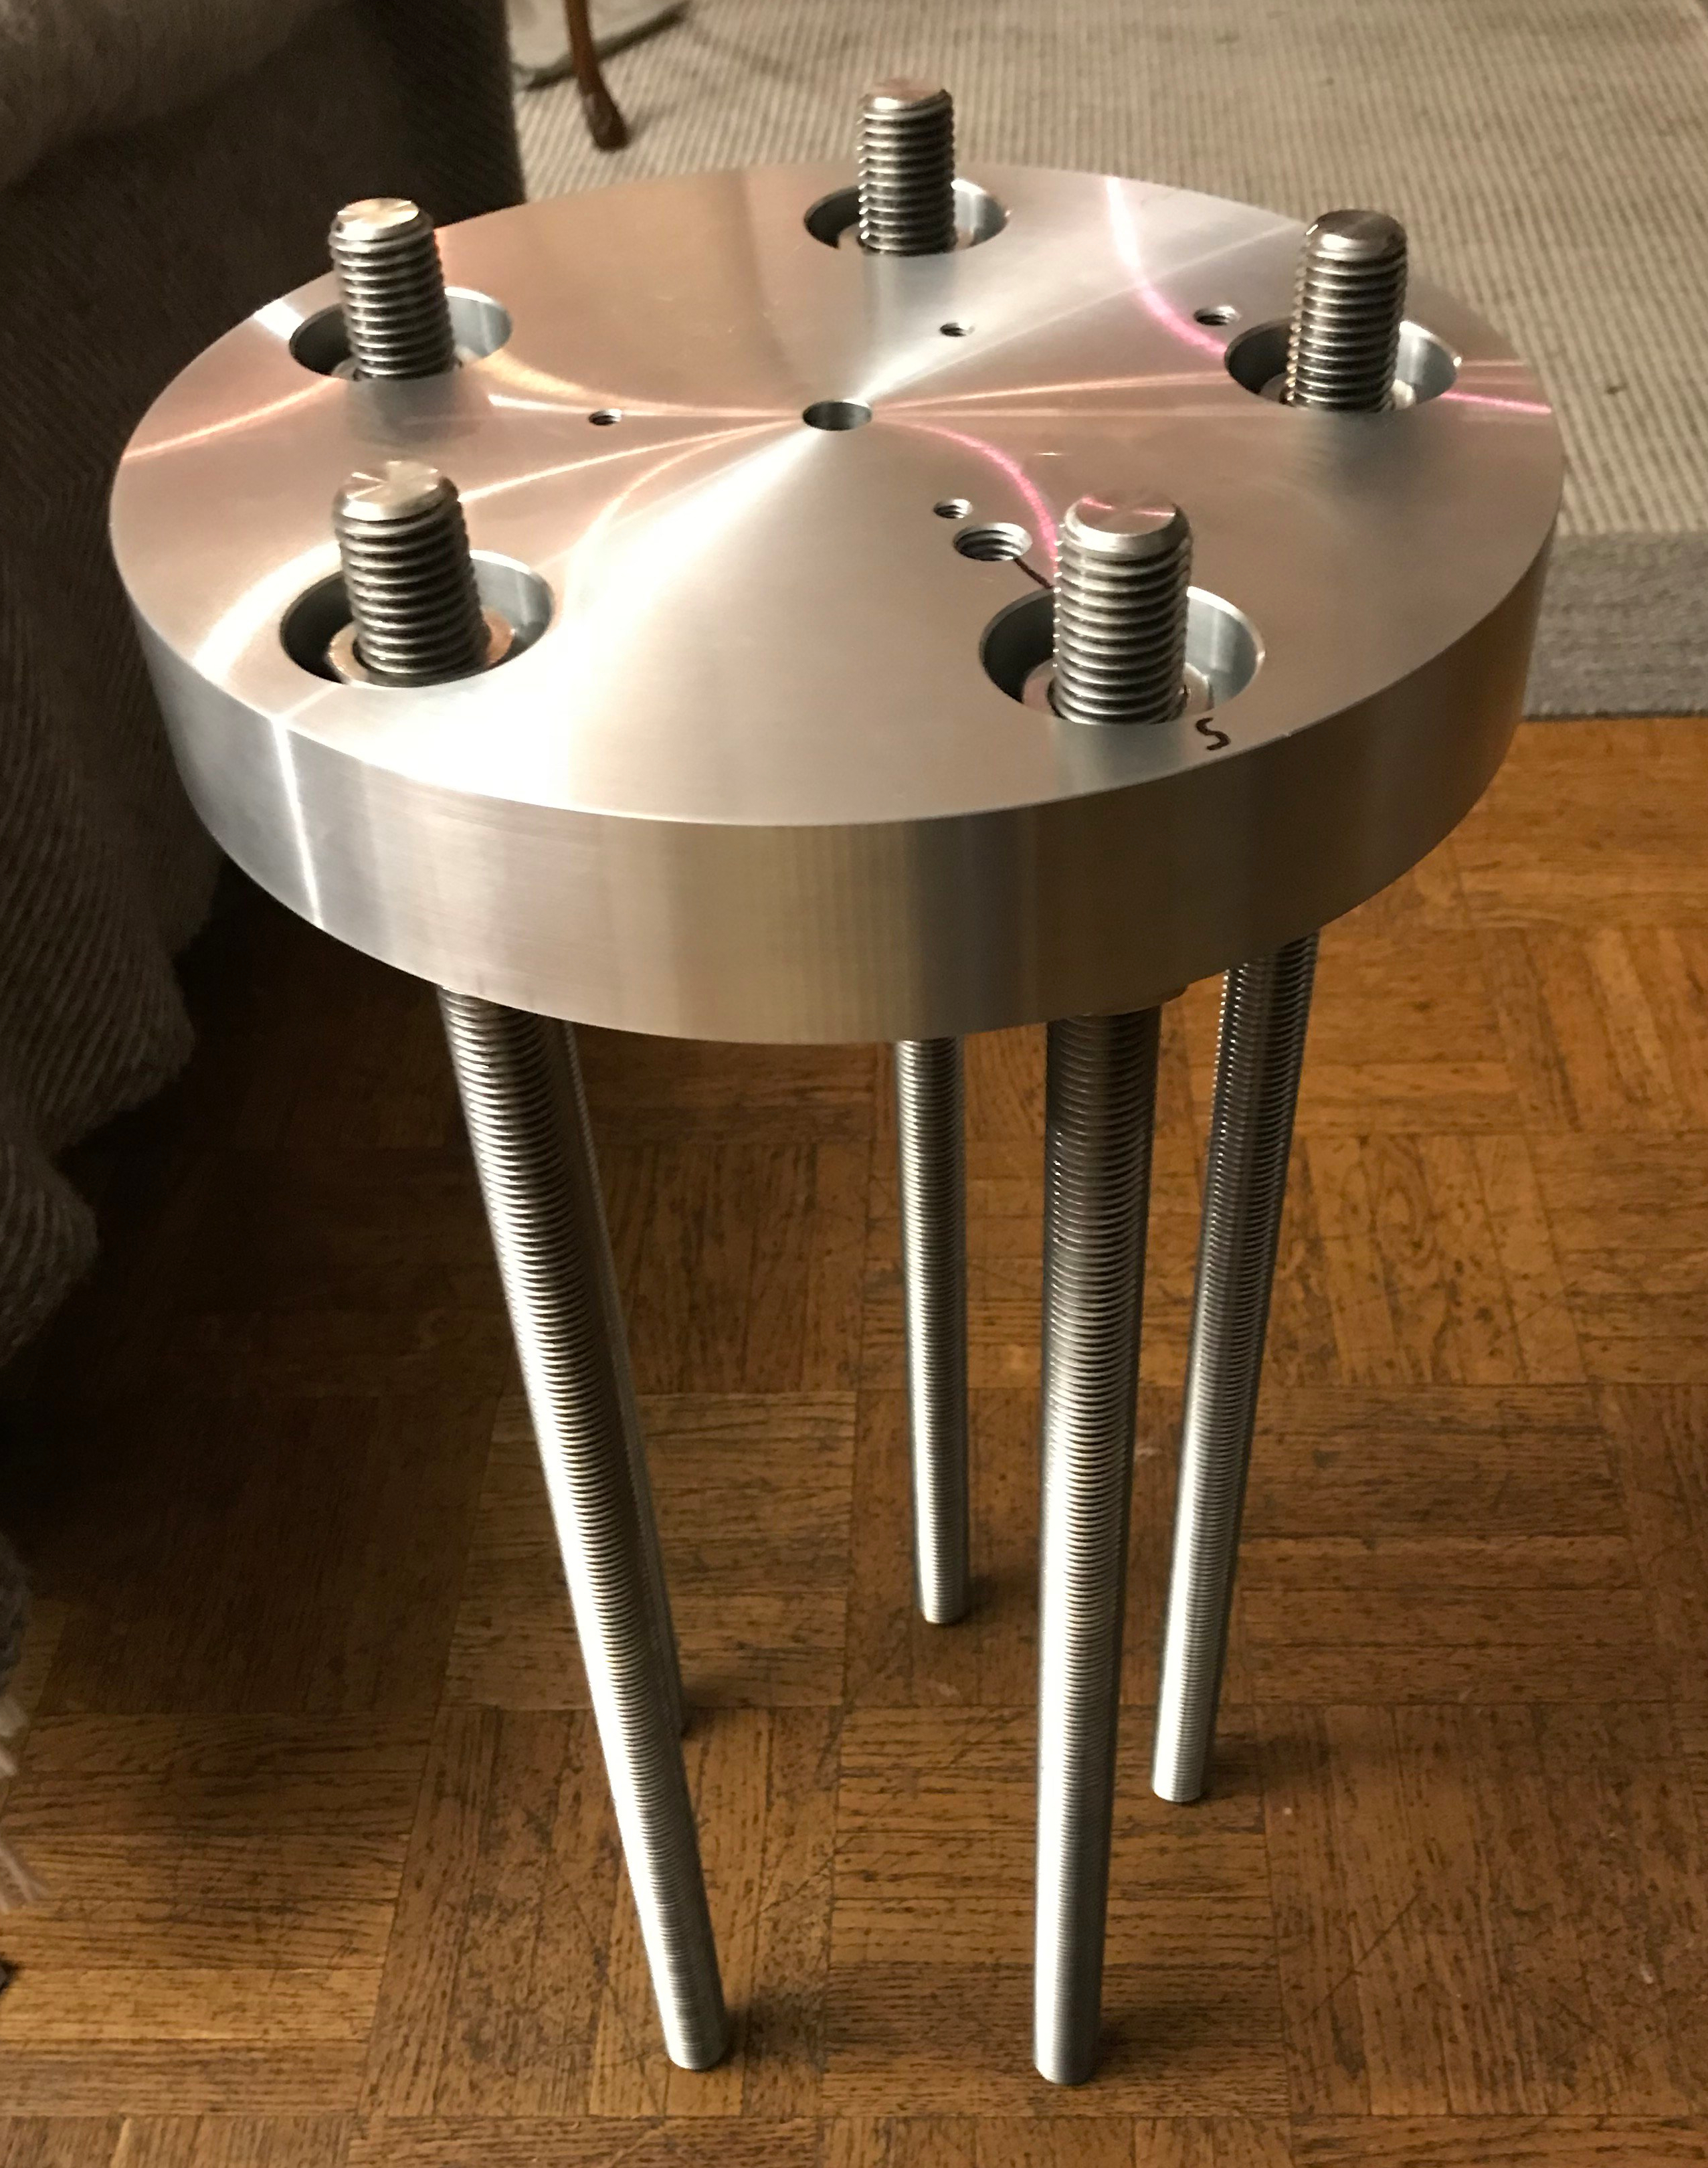
The connection between the concrete in the pipe and the equatorial mount, a Losmandy G11, is realised by an adapter made by JD Astronomie. The quality is top notch and it will allow me to upgrade to an EQ8 by Skywatcher if necessary. It also makes me want to own a lathe 😀
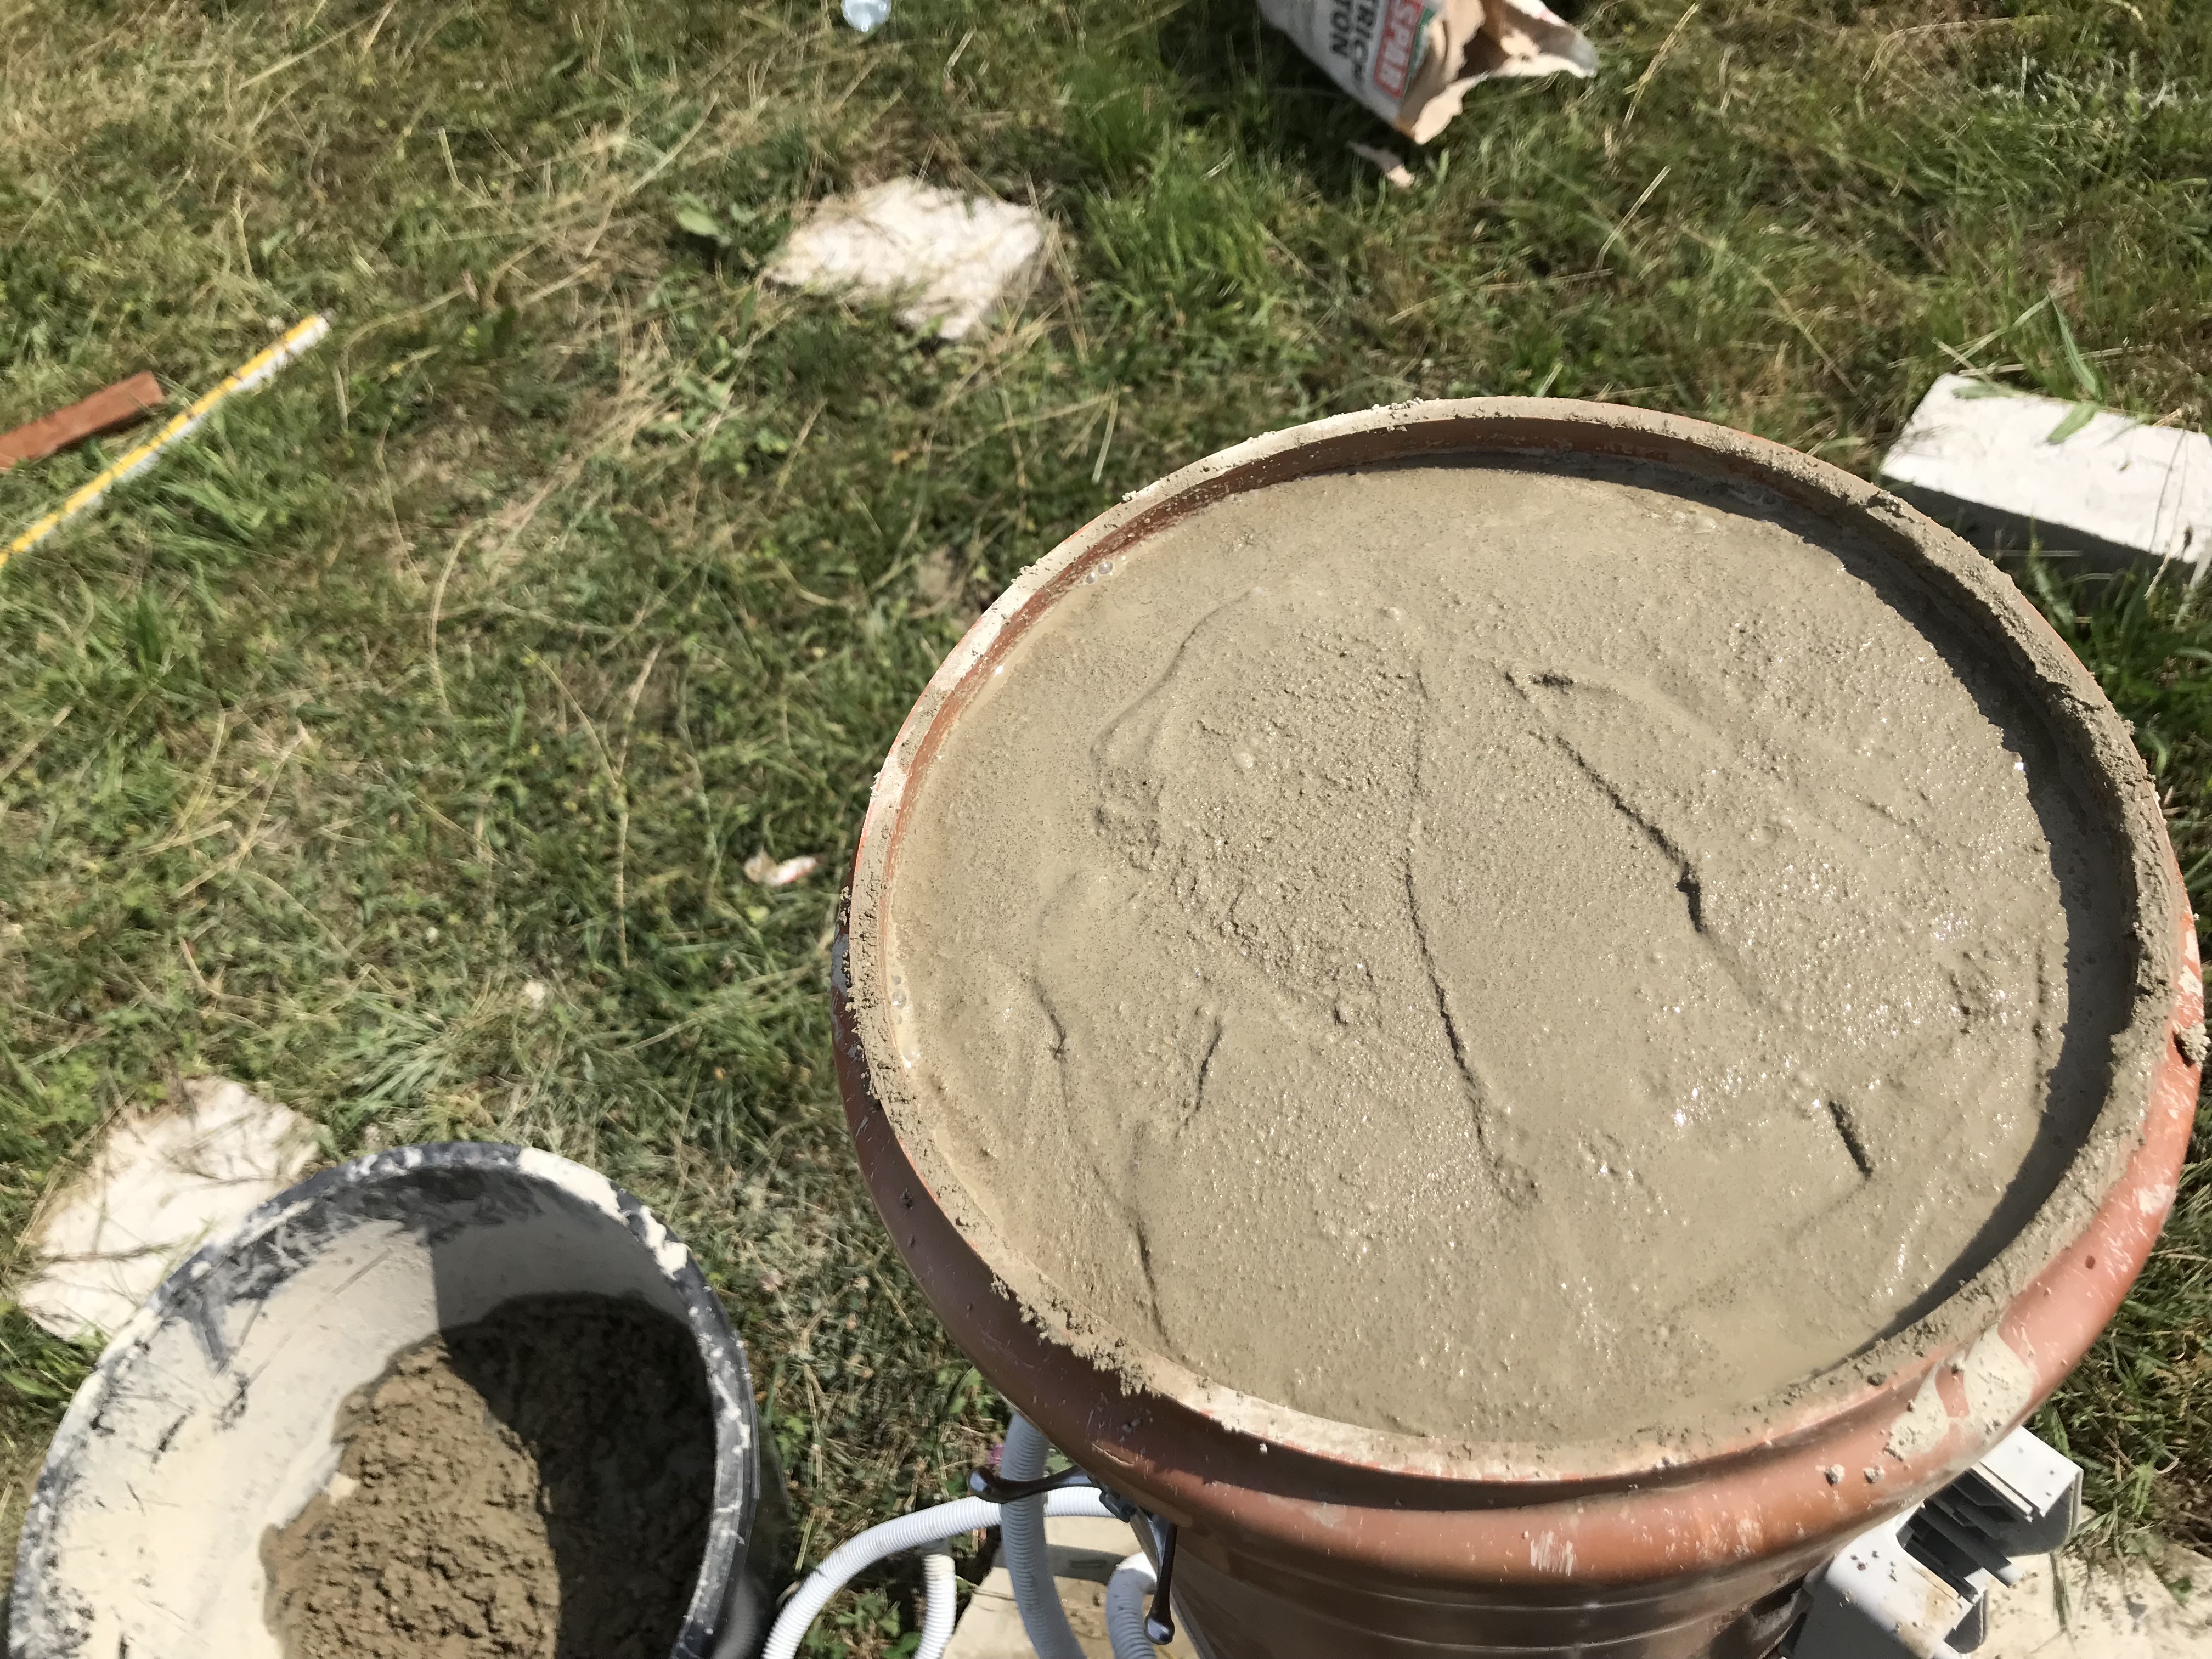
Okay in all honesty: I got help for the hard work. We used approximately 3.5t of concrete for all the fundaments, so I guess thats okay. I also got help cutting all the wood. A craftsman we knew helped to delivered the material based on my construction plan and design.

The next step was filling the pipe with concrete and adding the adapter. At a temperature of above 32°C quite exhausting, as it needs to be guaranteed that the concrete wont dry too fast. Pouring water on it for the next days did the trick.

After a few days drying, I began to wire the sockets and painted the pipe black. This helped a lot in creating a more professional look (and subsequently destroying the „sewage“-association). The next step was digging the trench (80m long) for the power cable. Till today I think about the missed chance to rent an excavator…

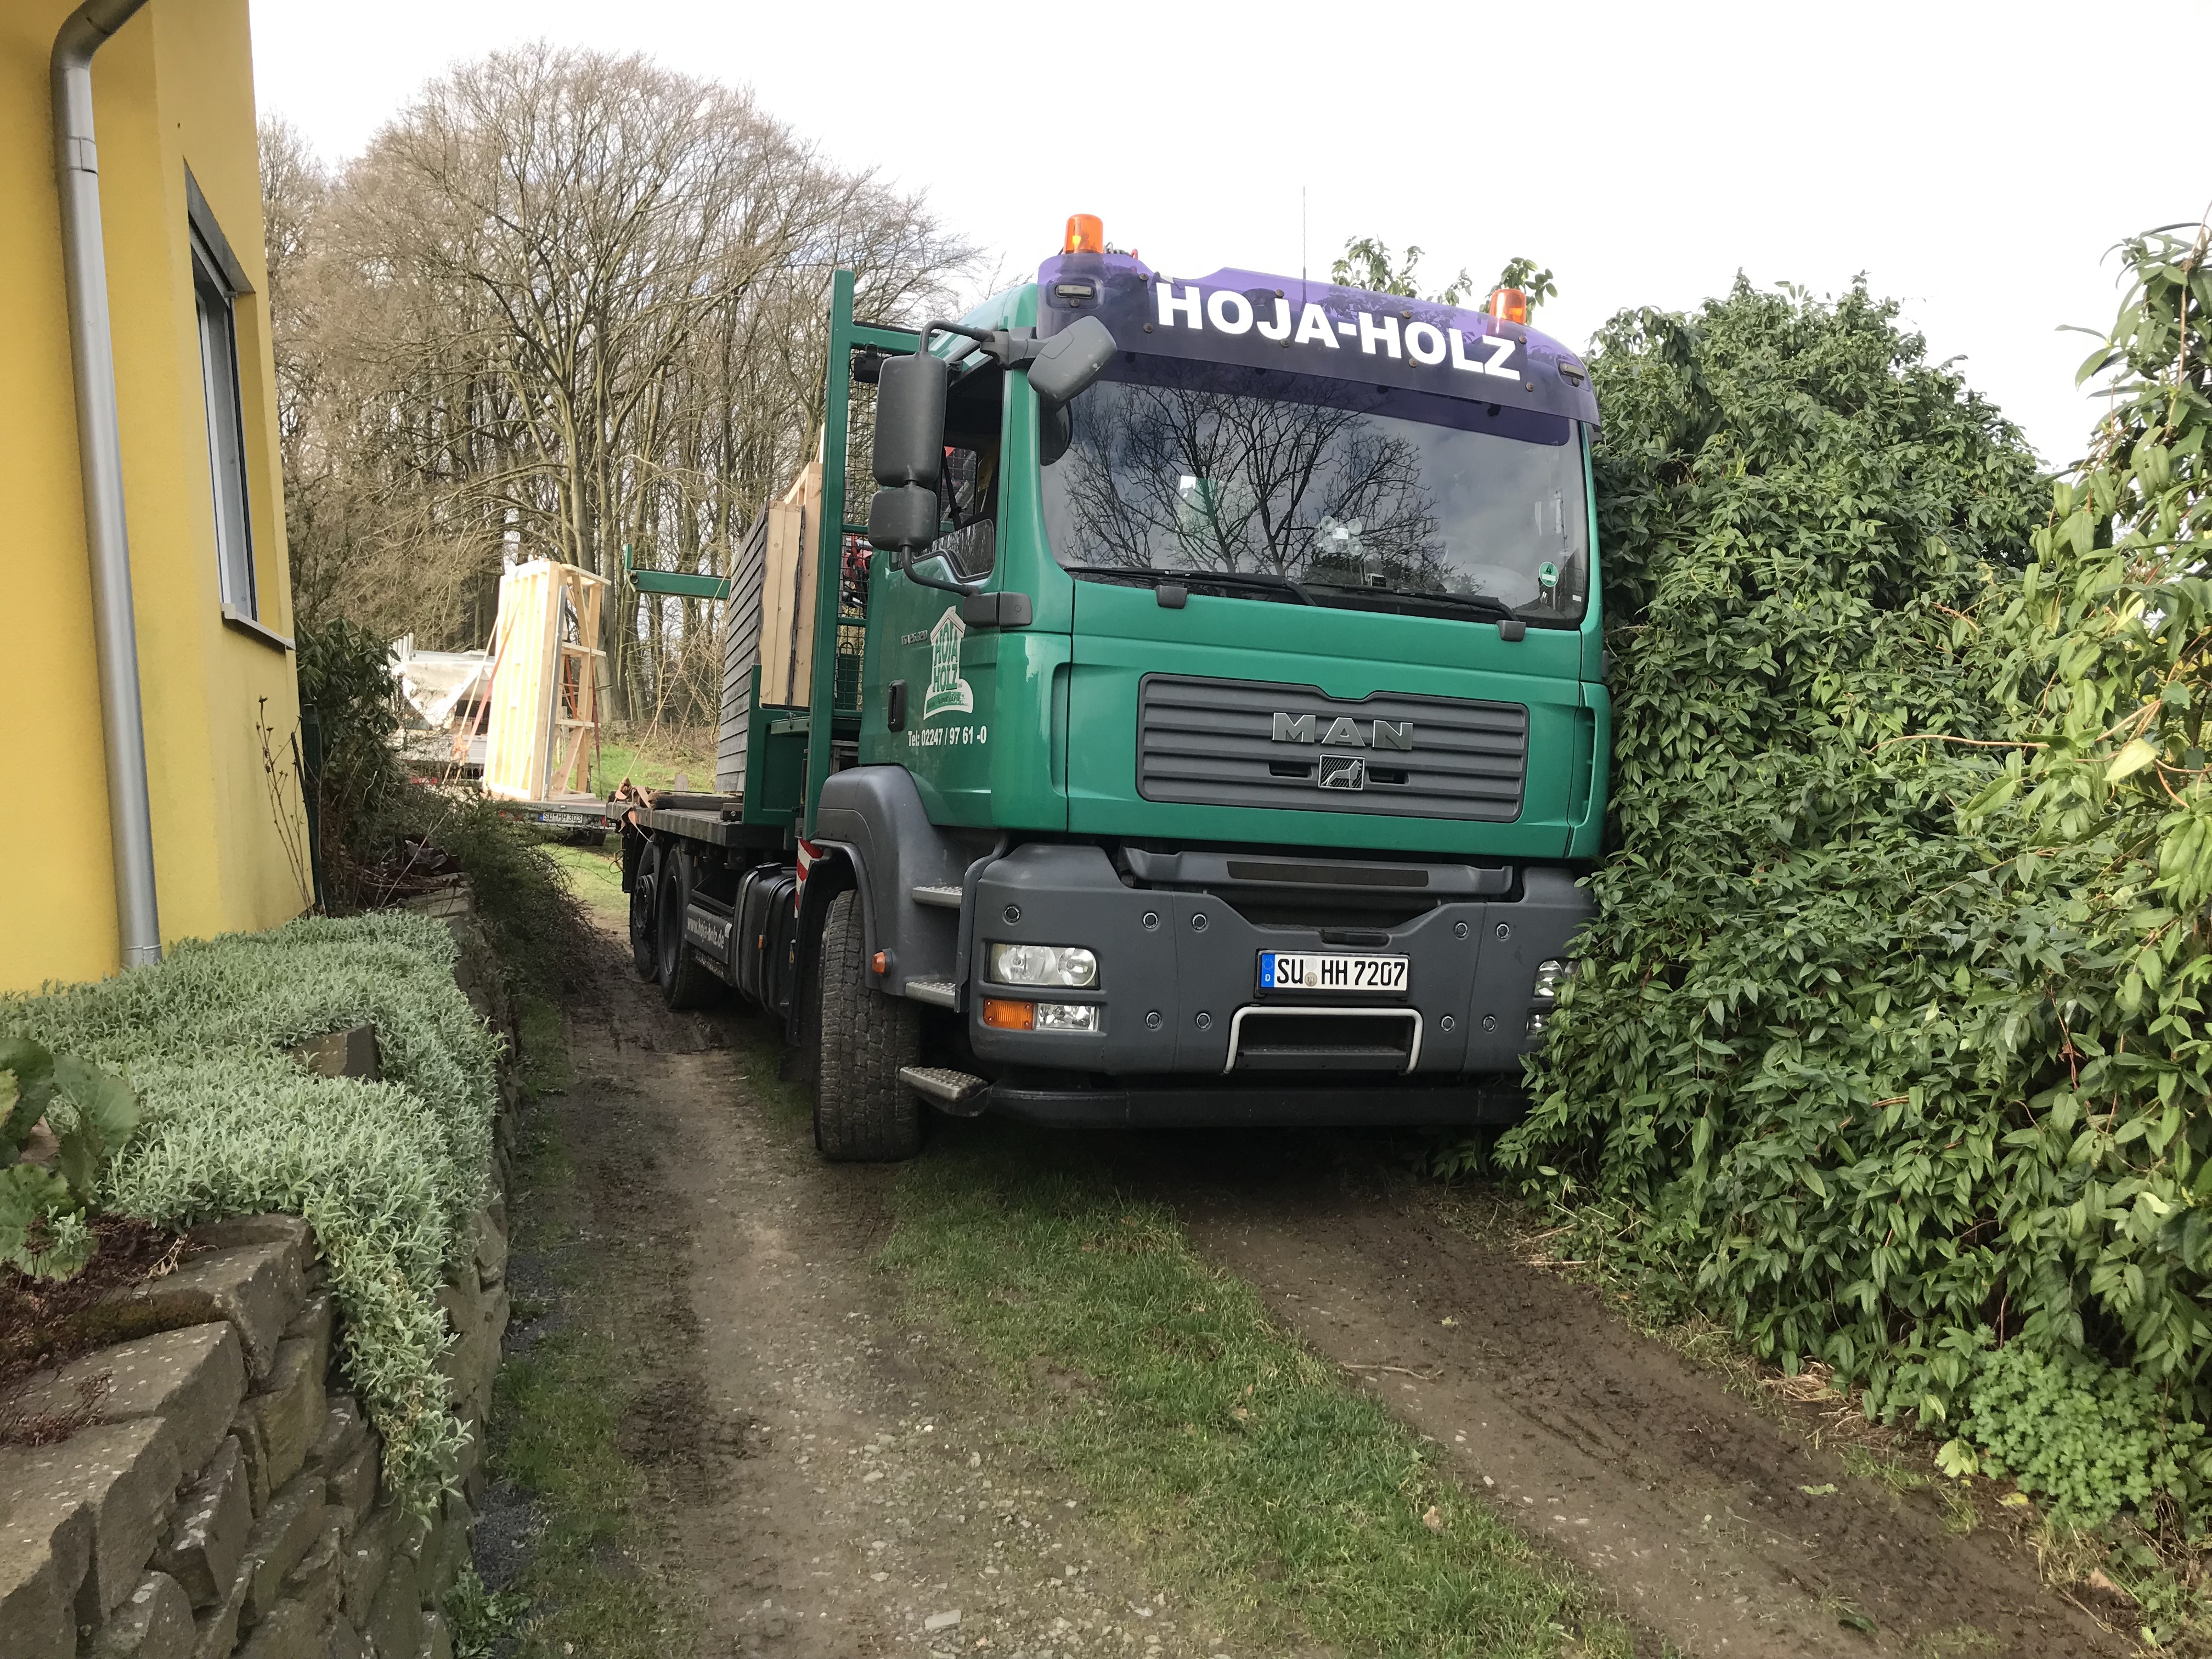
Finally, after some weeks waiting, my observatory arrived. The rains the day prior created quite challenging conditions for the assembly. The truck got stuck and needed to get pulled out by a Telescopic handler and a pickup almost fell over.

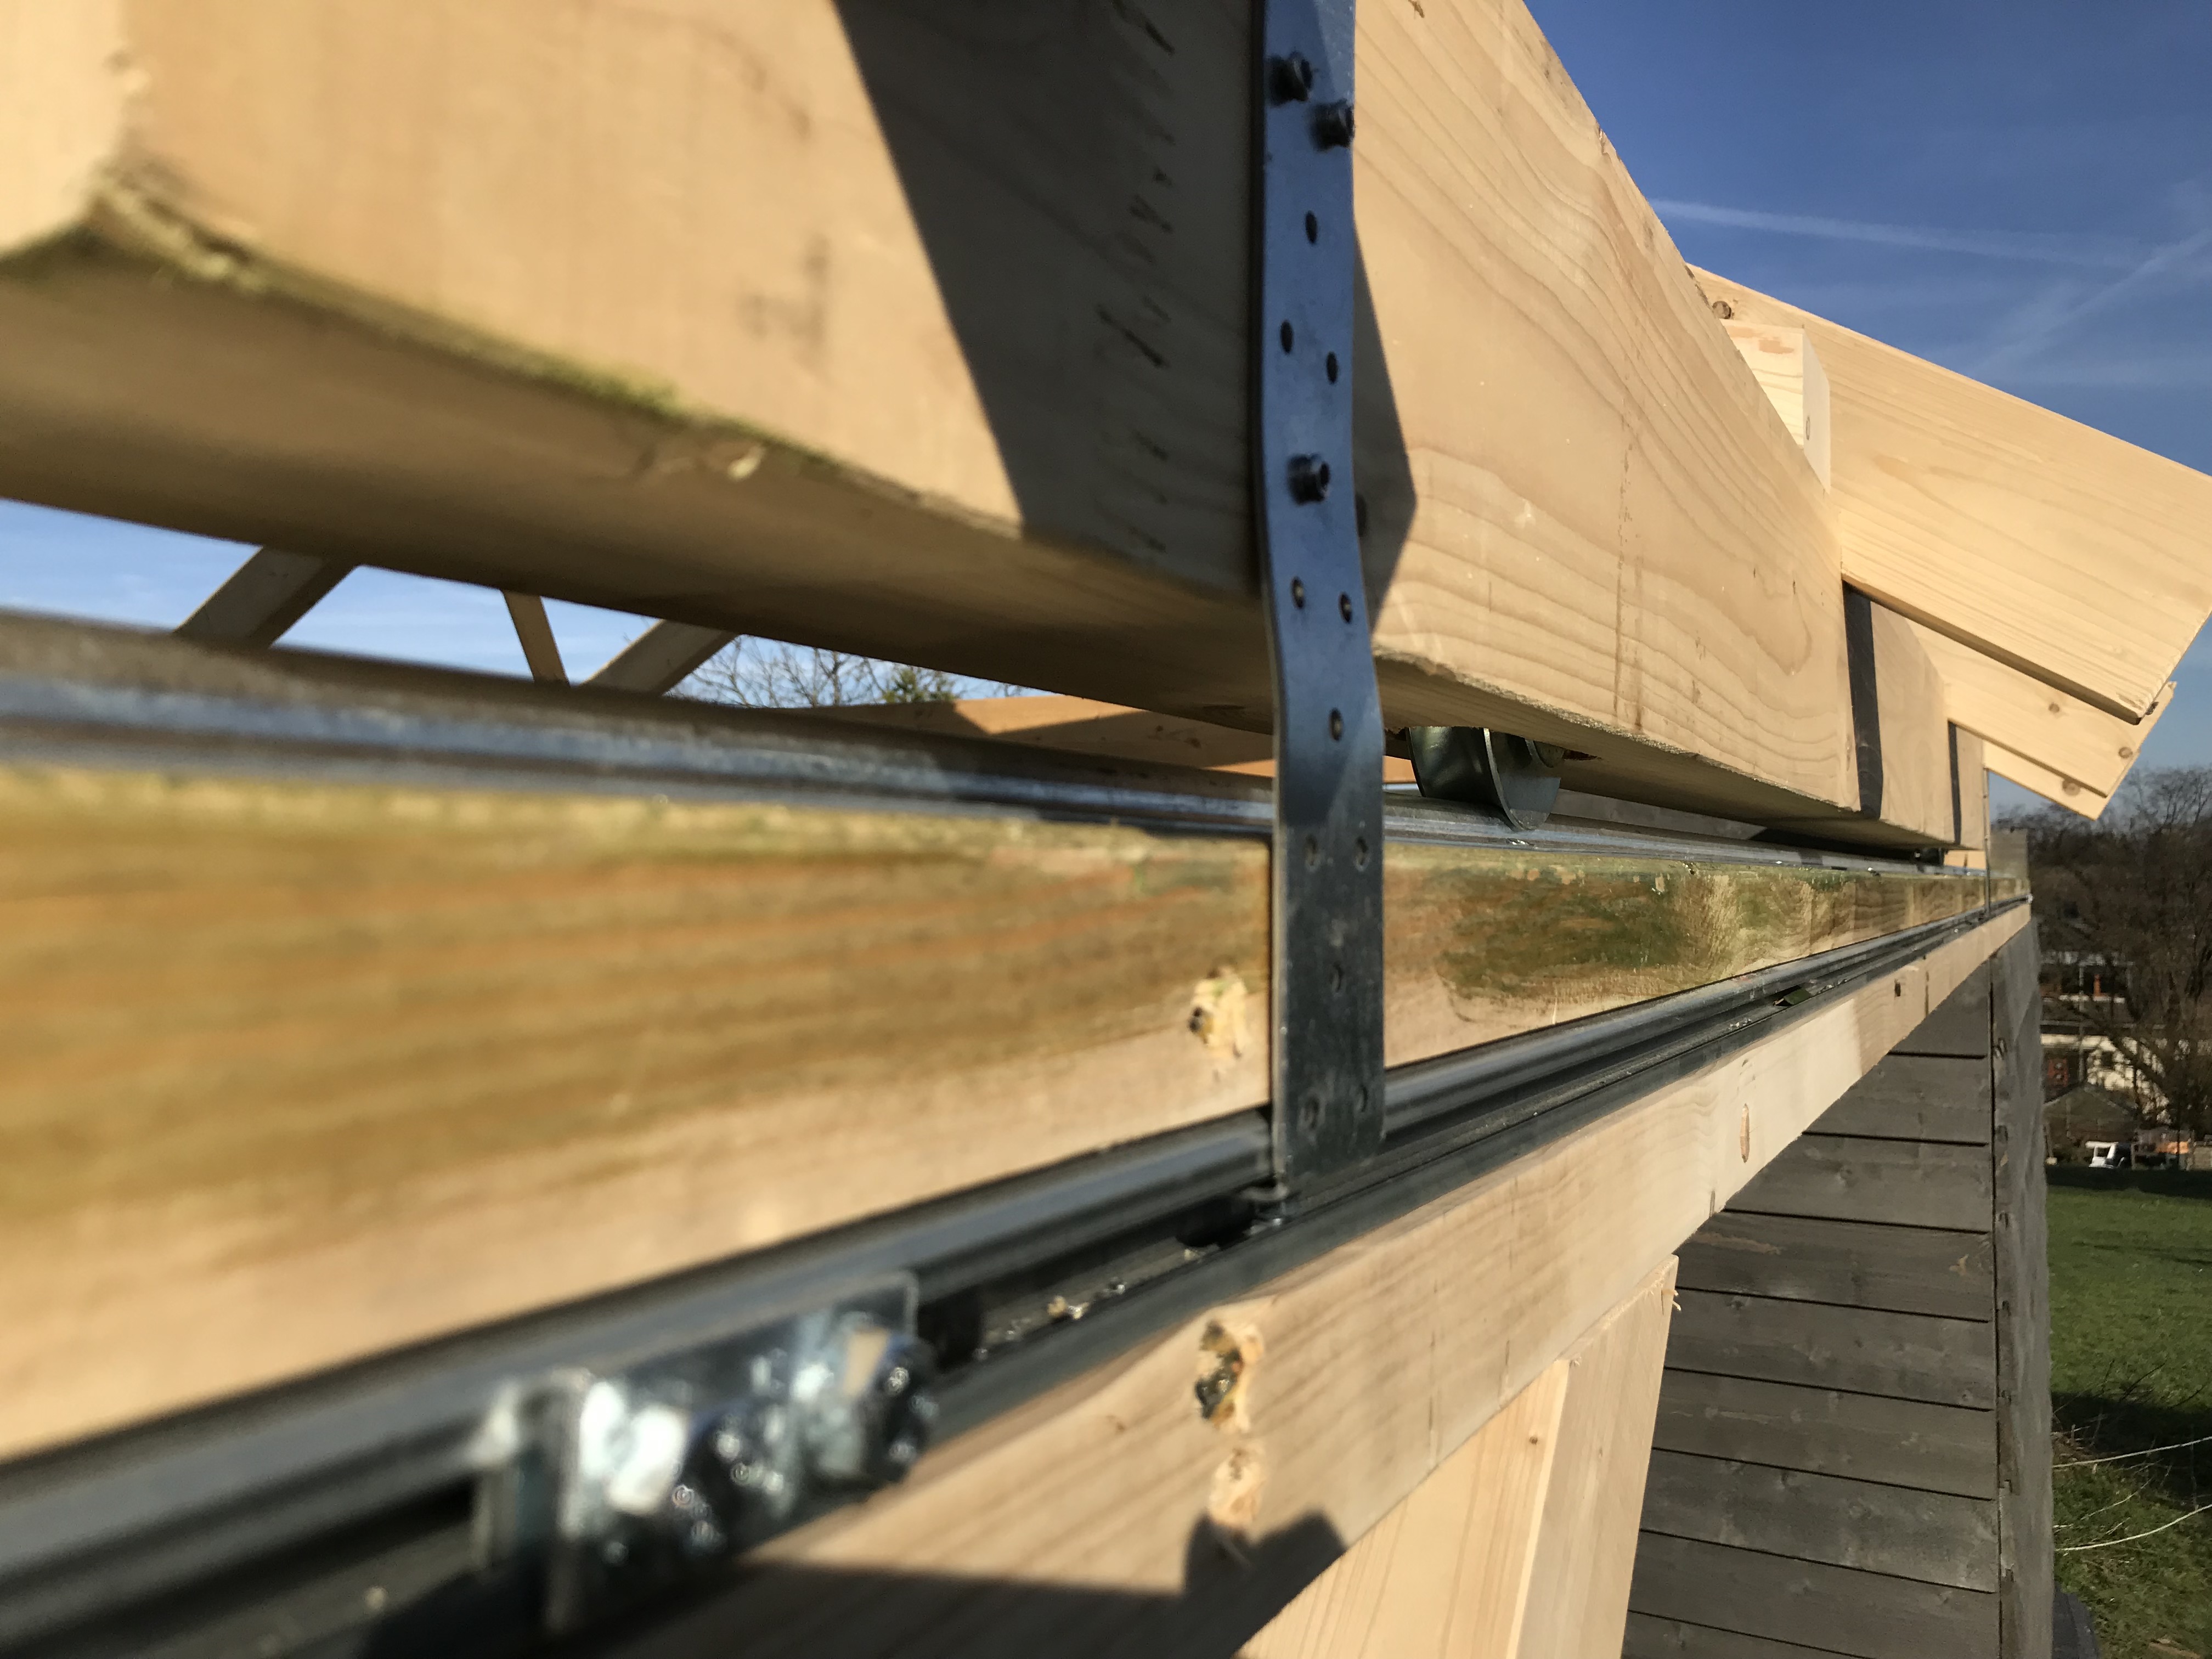
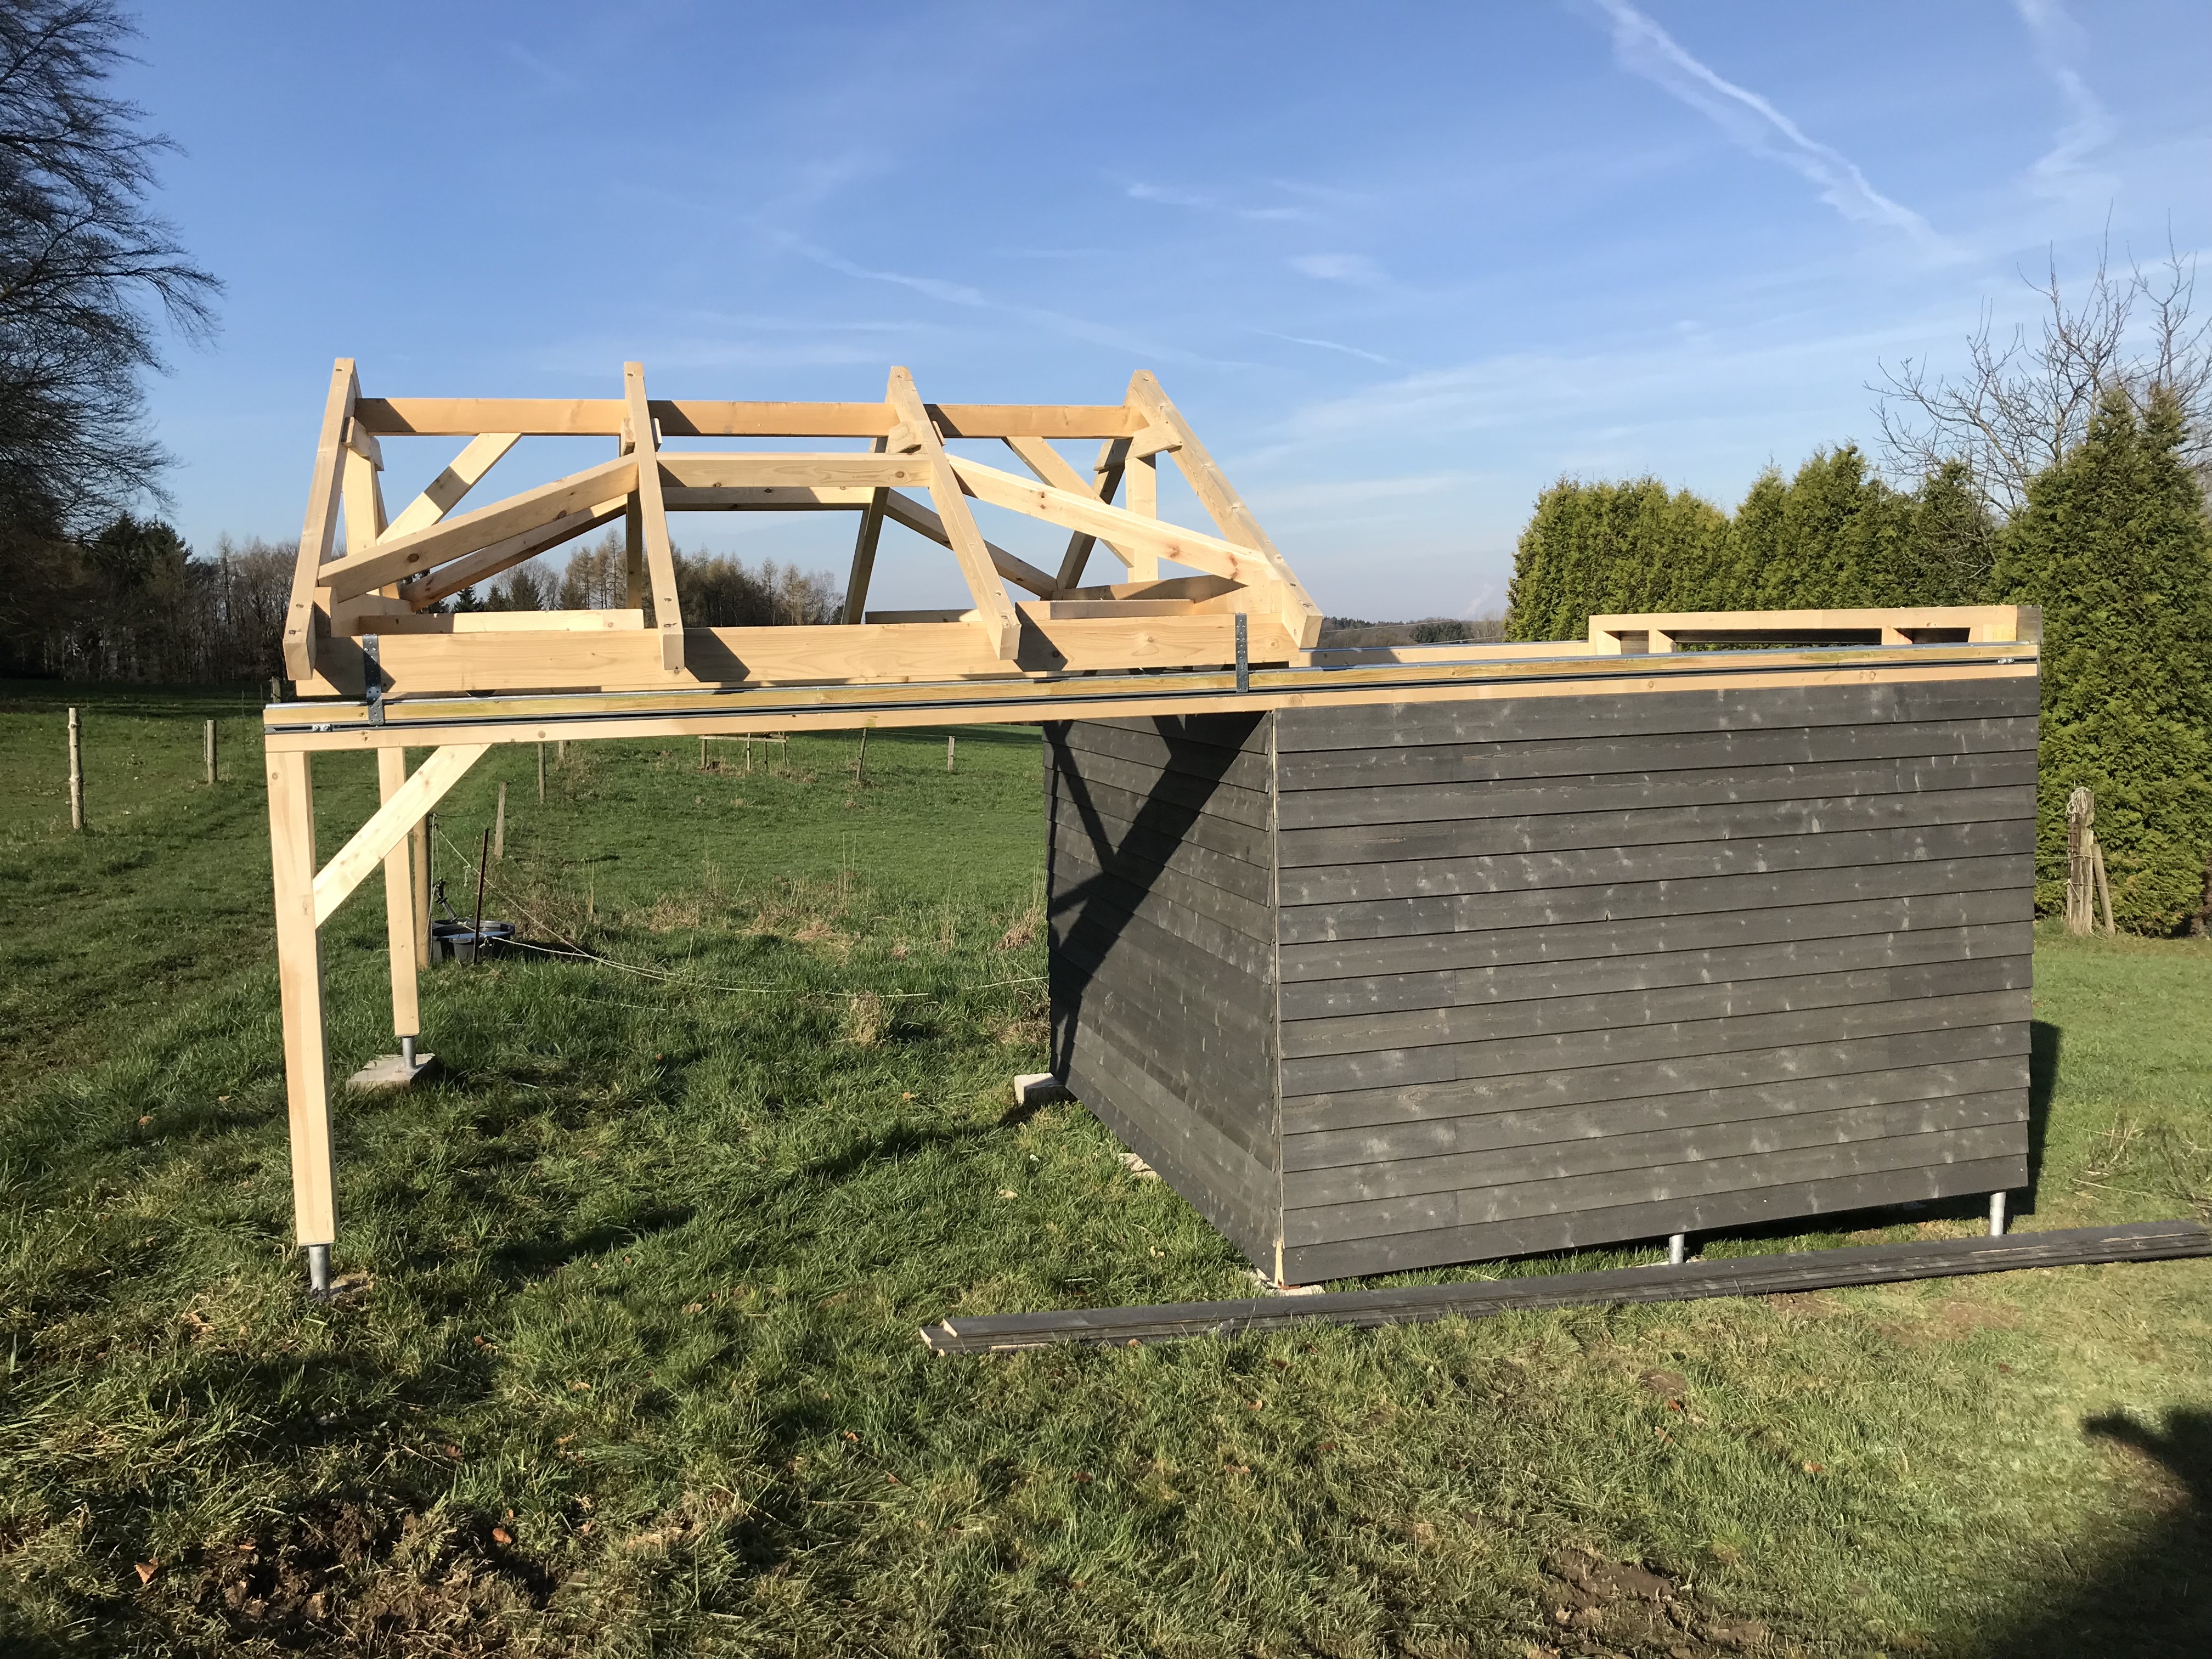
The next day a roof was installed. After this I spent some time on the interior. I got a desk for the PC, several cupboards for equipment, did some carpeting and hang a few posters. I also planted several fruits and berry bushes around the observatory and build steps for easier entrance. There is even a bench for „tourists“. This is a process that will probably never end, but of course there also was a first light.
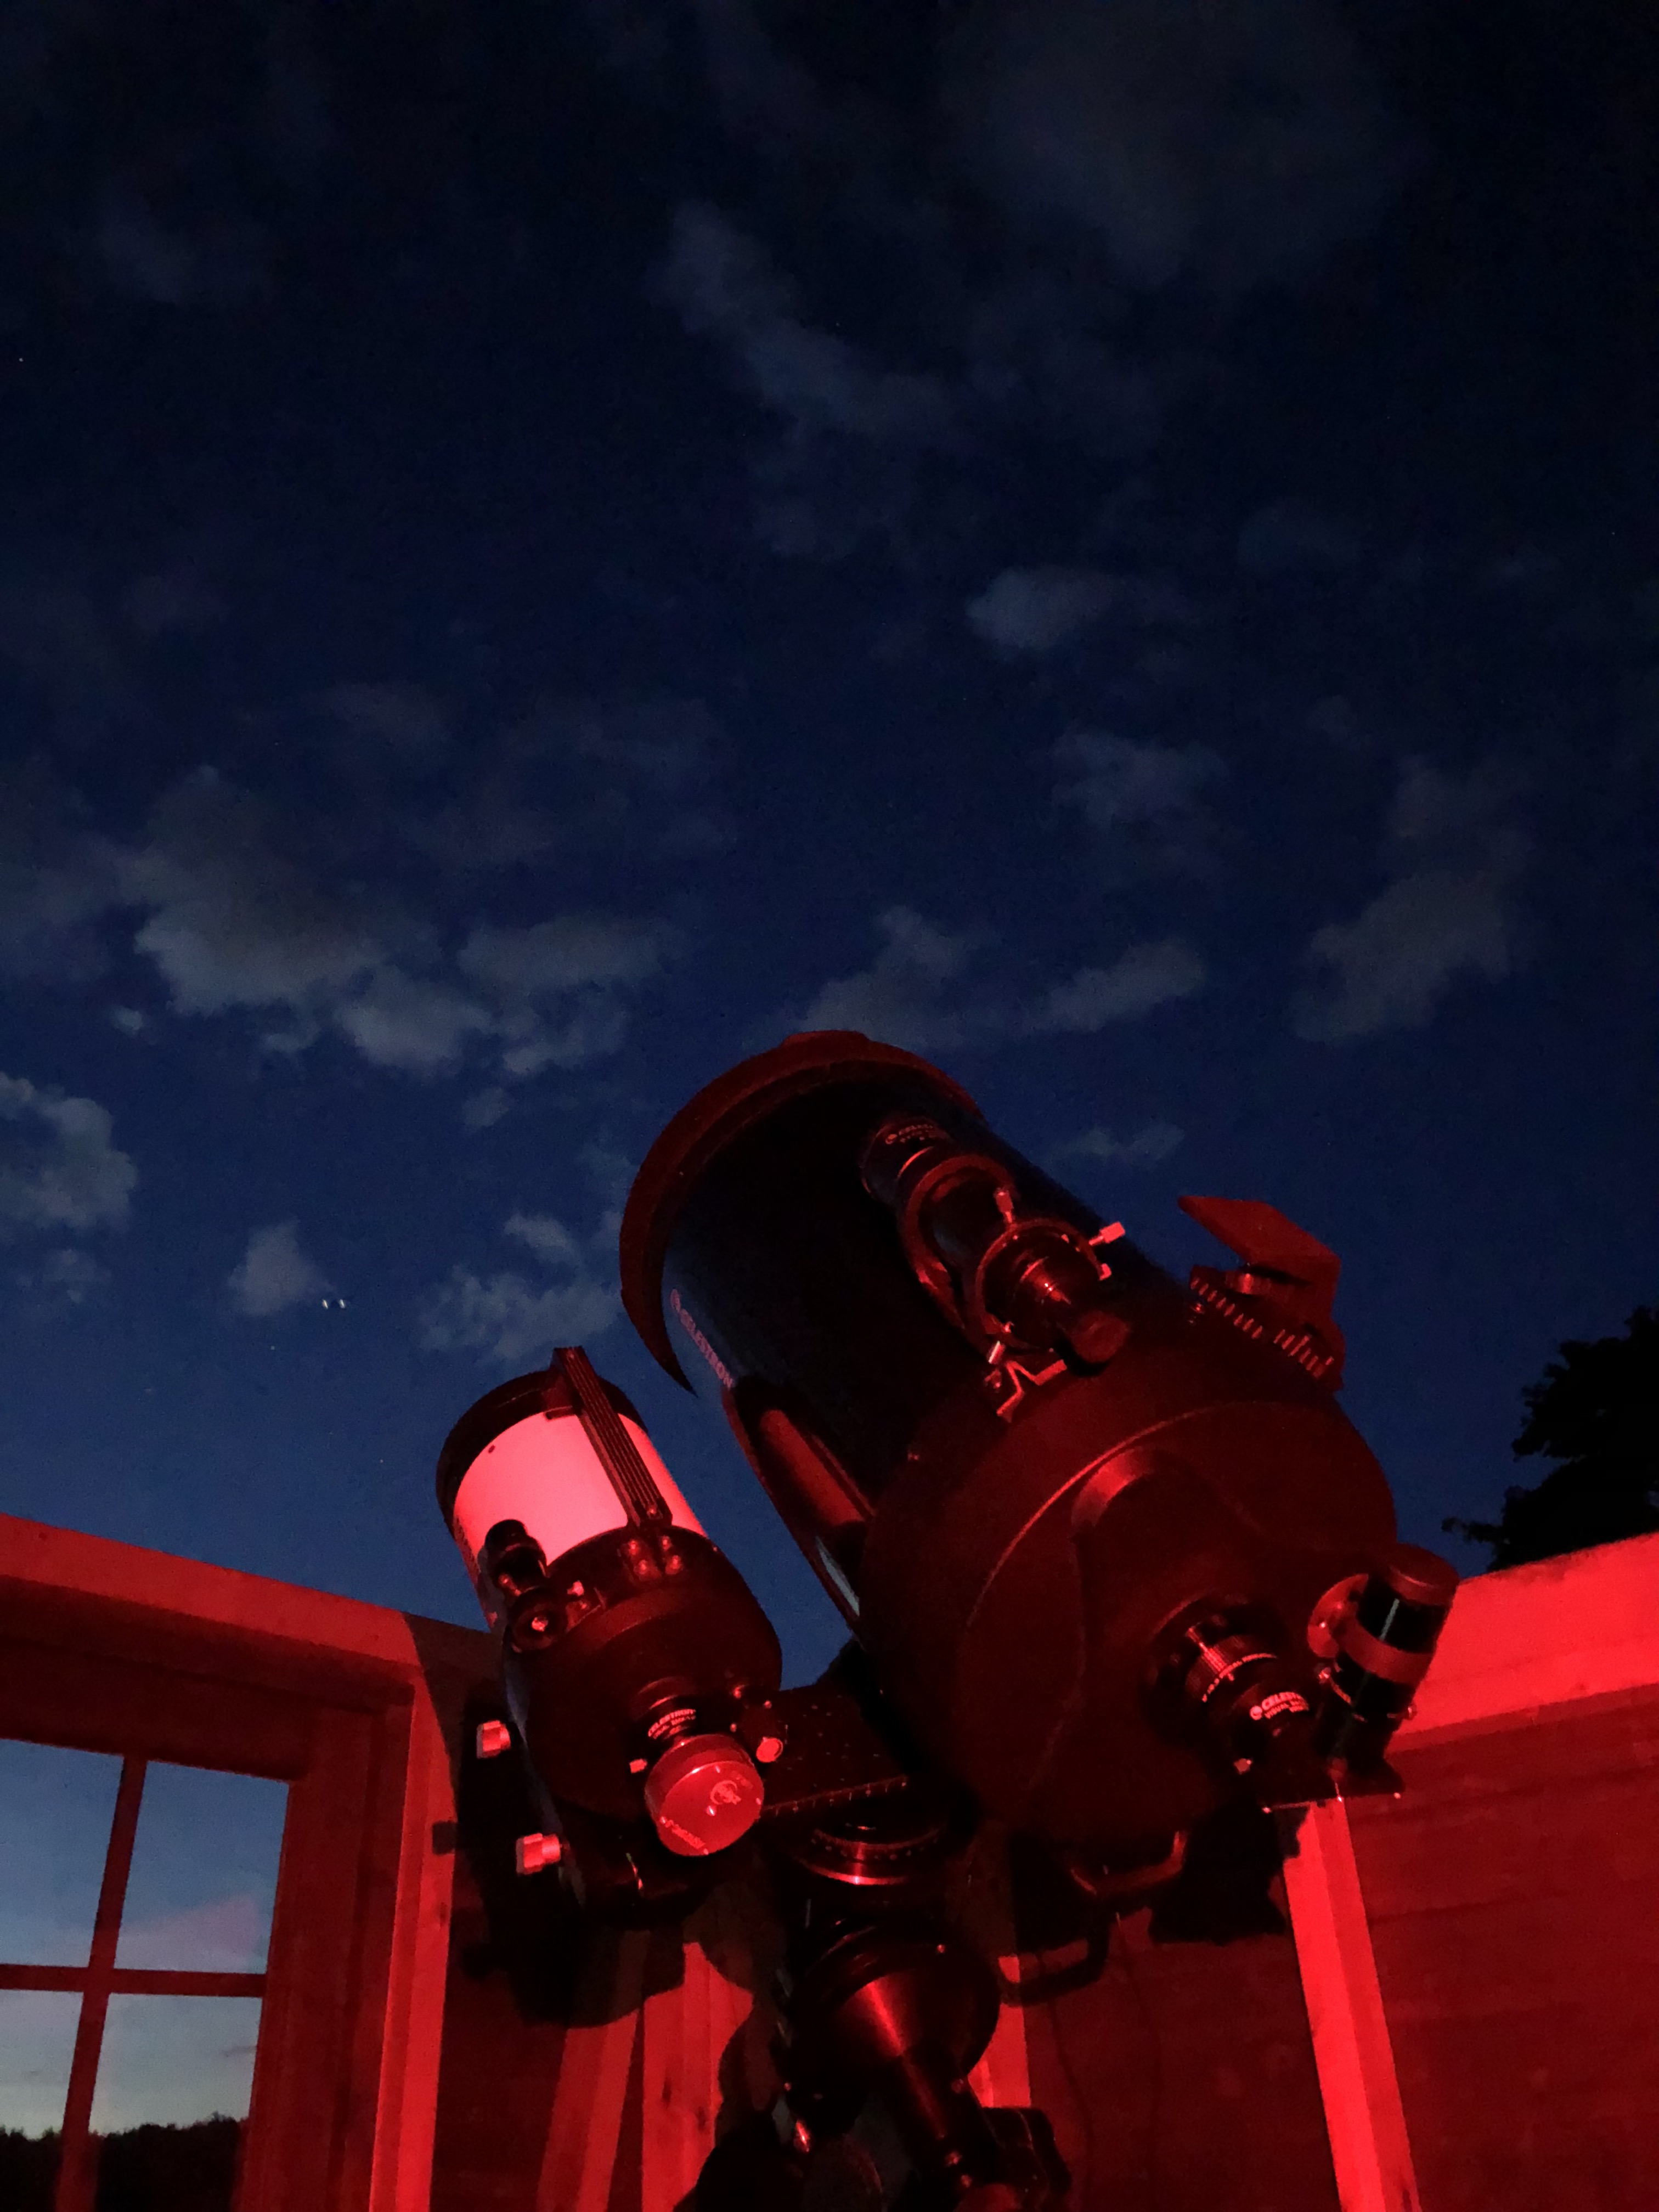
Using the C11 with a C5 on the site I did a polar alignment and a pointing on a few stars. Everything seems to work but there a still some minor mechanical problems which need to be fixed, nothing unexpected though. It got eventually resolved by doing a major and well-deserved overhaul of the Losmandy mount. Since the equipment has some value I also installed several high-end security cameras.

I also found an easy way to get my home WLAN over a distance of around 100m to the observatory, simply by using a repeater at a well-chosen spot. After quite some time tweaking I am proud to say that everything is set to go. I only need to open the roof, the rest can be done from anywhere. The telescope and mount can be controlled via a VNC connection. For now I need to improve my skills in astrophotography and do some fine tuning (and of course equipment upgrades). The never ending circle of a hobby 🙂 The telescopes used have changed with seasons and time. An equally chronological text about them can be found here.